
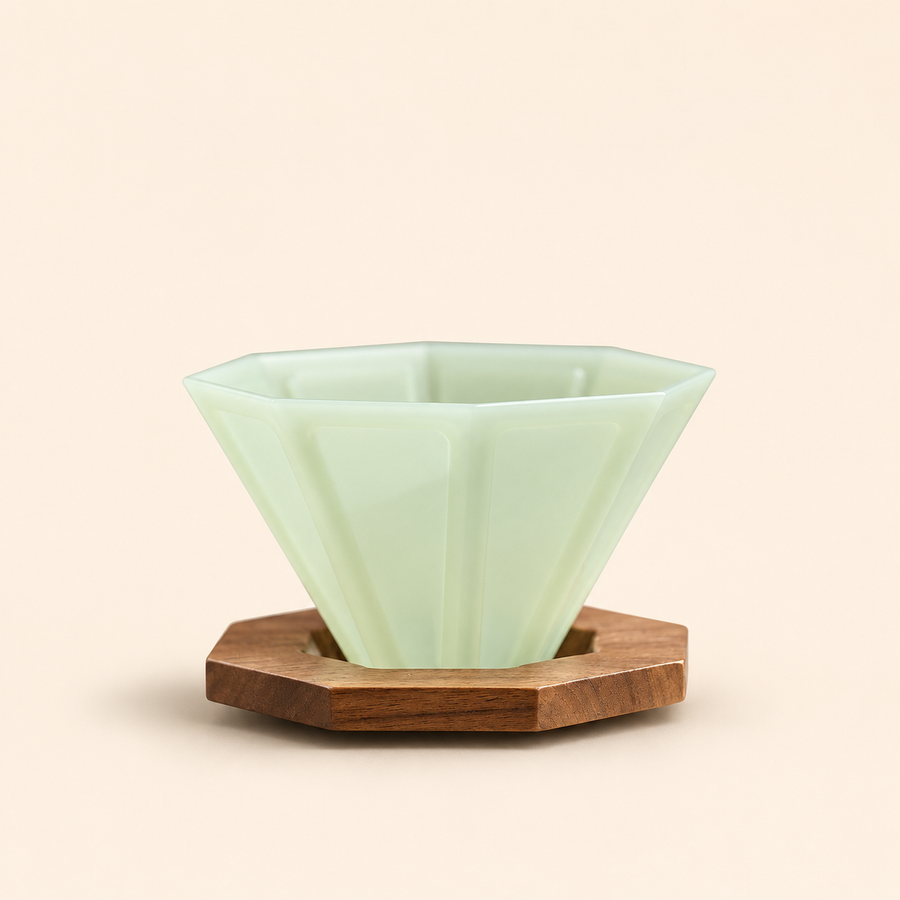
Good pour-over coffee starts with a setup you can repeat: a stable dripper, a correctly fitting filter, measured coffee and controlled pouring. You do not need an elaborate pouring performance. Begin with one modest recipe, then make changes you can actually identify in the cup.
This is a general workflow for a conventional pour-over brewer. Filter shape, vessel capacity and manufacturer instructions come first; a filter basket intended for a drip machine is not automatically suitable for a cone dripper.
Check the setup before heating water
- Make sure the dripper and any stand sit securely on the receiving cup or server.
- Check that the filter fits without blocking the outlet or folding over the coffee bed.
- Confirm that the server can hold the entire brew with room to lift and pour safely.
- Place the setup on a stable scale and check the combined weight against its capacity.
A dripper sitting on a decorative stand is only useful if the combination is stable. Do a cold-water fit check when changing cups, holders or filters. Do not balance a top-heavy brewer on a rim it barely touches.
A first recipe to record
Try 20 grams of coffee with 320 grams of brewing water, using a medium-fine grind as an initial reference. A smaller batch of 15 grams and 240 grams of water is another option if your brewer is designed for it. These are starting recipes rather than specifications for every dripper.
The National Coffee Association's pour-over guide describes a bloom followed by controlled pouring and gives a broad 2–4 minute contact-time reference. Your own brewer and coffee can fall outside that window. Treat time as an observation that helps you troubleshoot, not a finish line that overrides taste.
A simple brewing sequence
- Prepare the filter as its manufacturer directs. If rinsing, discard the rinse water before brewing.
- Add the measured grounds, gently level the bed and tare the scale.
- Start the timer and wet the grounds with a small initial pour. Allow the bloom to settle before the main pour.
- Pour slowly enough to keep the bed evenly wetted without overflowing the filter. Keep the kettle controlled rather than chasing a complicated pattern.
- Stop when the scale reaches your planned water weight. Let the brewer drain, lift it carefully and mix the coffee in the server before serving.
Keep the first few brews deliberately similar. Changing the grind, water amount, pouring height and number of pours at once makes it difficult to learn anything from the result. Note the coffee, dose, water, finish time and a short taste description.
When the brew goes wrong
| What you notice | What to check first | One next experiment |
|---|---|---|
| Water drains unusually slowly | Filter fit, blocked outlet and excess fine grounds | Try a slightly coarser grind with the same recipe |
| Water races through | Filter seating, gaps and the coffee bed | Try a slightly finer grind if the cup also tastes thin |
| Grounds remain dry at the edge | Whether the initial wetting reached the whole bed | Improve even wetting before changing the ratio |
| The cup is too concentrated | Actual coffee and water measurements | Test a modestly longer ratio |
These checks are diagnostic starting points. A fast brew is not proof that the coffee is under-extracted, and a slow brew is not proof that it is over-extracted. Taste matters, especially after the cup has cooled enough to evaluate comfortably.
Choose tools around the workflow
Use a coffee server with enough working capacity and a pour-over dripper and holder whose fit you have checked. Neither a server nor a holder replaces the need for a suitable filter. Review each listing's dimensions and included pieces before ordering.
For recipe math, use our coffee-to-water ratio guide. For a compact layout that leaves room to pour, read how to organize a small coffee station.
Finish with the next brew in mind
Remove used grounds, clean the brewer and server according to their own care instructions, and let reusable parts dry appropriately before storage. Keep the written recipe with your coffee. A clean, ready setup and one useful note are often more valuable than another accessory.
Further reading: National Coffee Association: pour-over coffee. Manufacturer recipes are starting references; this guide does not imply that Theodore Coffee products are made by or affiliated with the referenced organizations.


